
How to Wash and Reproof a Rain Jacket
Written by Outdoors Magazine|
Wash a rain jacket according to its own care label, dry it as permitted, and check whether water beads on the outside. Restore the durable water repellent finish only if the clean shell still wets out. If the same seam or opening lets water through, investigate the leak instead of adding more repellent.
Key takeaways
- Start with the garment’s own care label.
- Test clean fabric before applying new repellent.
- Repair recurring leaks instead of covering them with more treatment.
Wash a rain jacket according to its own care label, dry it as permitted, and check whether water beads on the outside. Restore the durable water repellent finish only if the clean shell still wets out. If the same seam or opening lets water through, investigate the leak instead of adding more repellent.
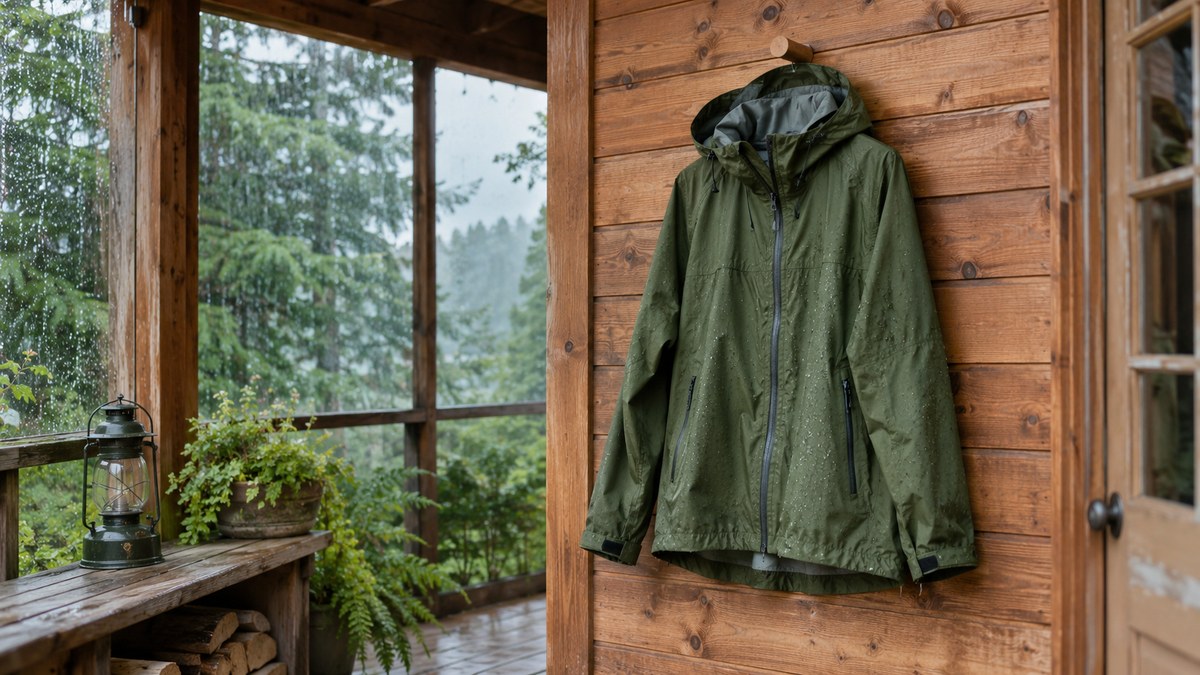
Generated editorial photograph, not an independent field test.
A shell can feel damp without allowing rain to pass through its fabric. The outside might be saturated, the person inside might be sweating faster than the shell can release moisture, or rain might have come in at the hood or cuffs. These problems can feel almost identical during a walk. At home, however, they leave different clues. A calm inspection and one change at a time tell you more than trying three laundry products in the same afternoon.
This routine is for ordinary waterproof rain shells. It does not give a single machine cycle for every coated garment, insulated jacket, or specialty fabric. Keep the garment's own tag and the current instructions for that model in front of you. If the tag and a general brand article appear to conflict, pause and ask the jacket maker.
How can you tell whether the jacket is wetting out or leaking?
Look for the pattern, not just the feeling of being wet. Wide dark areas on the outside suggest the face fabric is holding water. A recurring wet spot inside, directly beneath a seam or zipper, warrants closer inspection. Moisture spread across your back or chest can also be sweat or condensation.
Unpack the jacket before folding it up. In daylight, look first at shoulders, hood, cuffs, and the lower back, where straps or repeated contact may change how the surface behaves. Set aside any claim that you know precisely where water entered until you see repeatable evidence. Rain can travel along a sleeve or collect where the jacket creases, so a mark at the wrist does not automatically identify the point where it got in.
A simple comparison helps. After the jacket is dry and at room temperature, mist a small area of the outside according to the manufacturer's guidance and watch the droplets. Touch a dry paper towel to the inside afterward if you are trying to localize a specific damp area. Use the observation to compare zones, not to assign a waterproof rating. A gentle mist is not a laboratory pressure test. Soaking a garment in a sink or holding a hose against a zip can create conditions that the care check was never intended to represent.
Durable water repellent, usually abbreviated DWR, encourages surface droplets to bead and roll away. The GORE-TEX explanation of DWR distinguishes that surface treatment from the underlying waterproof construction. When the outside wets out, the jacket can feel heavy and clammy even if its barrier remains intact. The different jobs explain why restoring surface beading cannot reseal a damaged seam.
What should you check before washing a rain shell?
Read the tag for the wash temperature, permitted cycle, type of cleaner, and drying restrictions. Empty every pocket and look for lifting seam tape, tears, and hardware damage before the wash. Fasten or leave closures as the manufacturer specifies, and keep the shell away from rough or heavily soiled laundry.
Start by identifying what you own. A loose shell liner, a fleece liner attached with a zip, and a bonded three-layer shell may all feel like internal fabric, but they do not justify copying one washing formula. Take a quick photo of the care tag if it is fading. If the model name or construction is uncertain, search the brand's current care page instead of treating another owner's video as the label.
Prepare the washer rather than assuming its previous cycle was compatible. Check the dispenser for visible residue and remove leftover softener or powder according to the washer instructions. If you routinely use a fragranced laundry additive, do not add it to this load unless the garment maker specifically permits it. A shell does not need to smell perfumed to be clean. Some detergents can leave a film; using more to compensate may make it harder to judge the finish afterward.
Read the instructions all the way through before opening a bottle. One product may be a cleaner while another renews repellent. The packaging can look nearly identical. If a jacket needs cleaning first, combining a cleaner and a water repellent without explicit instructions to do so makes it difficult to know whether either step worked. Put the right products in order, or decide that the first cycle will be a wash only.
How do you wash the jacket without guessing at the settings?
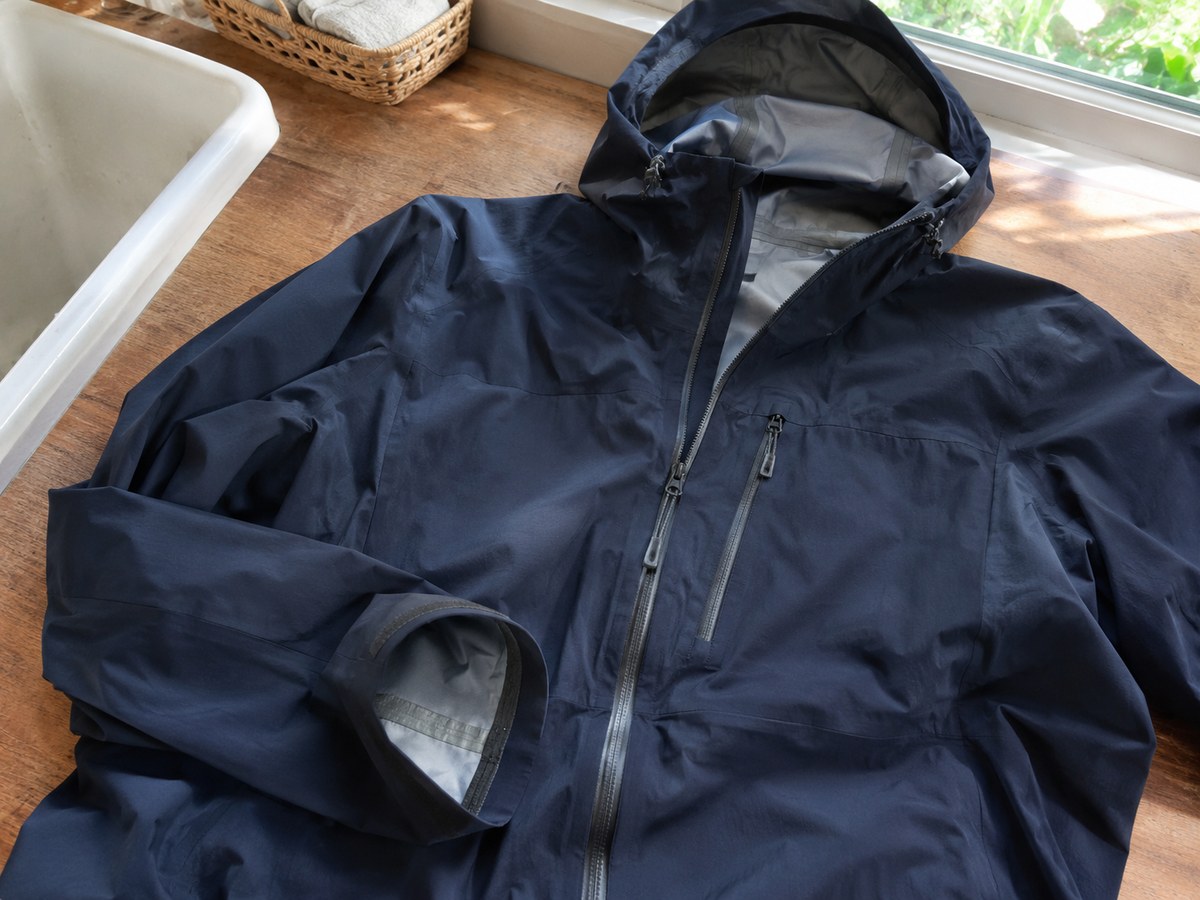
Use the garment maker’s instructions for the water temperature, amount of cleaner, cycle and rinse. A compatible mild liquid cleaner is common, but not universal. The correct dose and wash steps depend on the shell and product, so do not transfer settings from a different model or treat stains with unapproved additives.
For example, the GORE-TEX outerwear care directions discuss a small amount of liquid detergent, a second rinse and avoiding powder detergent, fabric softener, stain remover and bleach for the garments they cover. Their directions also identify exceptions, including garments with a persistent beading surface. Those exceptions matter more than any generic assumption about the brand name. Some shells from other manufacturers supply different instructions. Consult the model label rather than treating the example as a universal temperature or method.
Before loading, peel away any removable field accessories that the maker says to take off. Empty the hood pocket and check the cuff openings. Do not scrub grime with an abrasive brush or stretch the shell by pulling on the hood while it is wet. A gentle spot-clean method may be allowed on a small patch of dirt. If not, let the approved wash cycle do the work and inspect afterward.
If the jacket comes out with visible foam or a soapy feel, review whether the maker permits another rinse. Do not reach for a second product just to mask the residue. Once dry, compare one panel with another and check whether the problem still appears across large areas. A stain can remain after the fabric is clean; a visible mark and a failing finish are not necessarily the same thing.
When should you dry, reactivate, or add new repellent?
First let the clean jacket dry by a method it permits. If the manufacturer calls for gentle heat to reactivate the existing finish, follow those exact directions before applying anything new. Retest after drying. If clean, intact fabric still wets out, choose a compatible repellent and follow that product's instructions.
The order is important. Applying a new treatment to fabric before checking the original finish can hide the real problem and waste the product. Keeping the steps separate also helps you diagnose a repeat problem several trips later. Record the date, how the jacket was washed, and where water stopped beading. That is enough; no spreadsheet or special measuring kit is necessary.
For many garments covered by its instructions, GORE-TEX describes a gentle extra tumble after drying to restore the remaining treatment. It also identifies shells with a permanently beading surface that should not be tumble-dried and should not receive DWR. Heat is therefore conditional, not an automatic remedy. A radiator, heat gun or hair dryer at close range does not substitute for a manufacturer-approved drying cycle.
If instructions allow a new treatment, look for the compatible method for the garment's design rather than deciding that spray-on or wash-in is always superior. Spray can target the face fabric, while a wash-in process treats the garment differently; use only the method the jacket and treatment makers approve. Read whether an application is supposed to start on damp or dry fabric and how the treatment should cure. Wipe away excess only if instructed. Do not add a second coat based solely on seeing one dark panel while the jacket is still drying.
What should you do about peeling tape, worn cuffs, or a real leak?
Stop treating a repeat leak as a laundry issue. Examine seams, closures and high-wear areas, then use the jacket maker’s repair guidance. Photograph any peeling tape, fabric separation or tear and record where water appeared. Keep an unverified or damaged shell off trips where reliable weather protection is essential.
Someone who notices dampness under both shoulder straps might first check the face fabric and ventilation. Someone who sees a narrow inside mark starting just under a lifted seam should look at that seam rather than treating the garment again. If the issue is rain entering a sleeve, look at cuff fit and the gap between the cuff and glove. A worn surface can contribute to discomfort, but an open entry point is not something a DWR treatment can close.
GORE-TEX's published support answers direct owners to appropriate repair options for damage. Do not assume an adhesive suited to a tent, boot, or inflatable will bond safely to an unfamiliar rain shell. For a clean puncture, follow the brand's own patch directions and check if the result is temporary. Widespread bubbling or tape lifting deserves an assessment before the next important trip. Send the photos and garment details the maker actually requests.
Before you rely on a repaired garment, check the repair after it is fully dry and fully cured if applicable. If in doubt, carry a known working replacement or pick a day and route that do not depend on the questionable shell. Our guide to drying wet hiking boots covers a similar principle: use the drying method the material tolerates, rather than rushing the process because tomorrow is a hiking day.
How should you store the jacket between wet trips?
Dry the shell fully before putting it in a bag, sealed box or crowded closet. Use the maker's storage directions and check folds, hood and pockets for trapped moisture. At the next unpack, look for visible abrasion and lifted seams before relying on the shell in sustained rain or wind.
A small hook near the door is useful if it lets air reach both sides and keeps the jacket away from a heat source. Open pockets when appropriate so they do not stay damp long after the sleeves dry. If you must pack a wet shell for the drive home, treat that as transportation, not storage. Hang it out as soon as you have a place to dry it.
After a wet trip, write down a single observation you can act on: “water flattened across both shoulders,” for example, or “left cuff was wet inside after the glove came off.” Those are better prompts than deciding the whole jacket failed. You can address the first by following the supported wash and reactivation routine and the second by checking the overlap in your rain setup. A hard shell worn over absorbent layers can keep its outside clean and still collect interior moisture if you overdress.
The decide-before-you-buy version is simple: check the label; wash once correctly; reactivate only if allowed; test the beading; then consider an appropriate treatment or repair. If the shell passes the small check, resist the urge to add extra chemistry just because a bottle is open. Good care is repeatable and suited to the garment. It is not an attempt to make every panel look untouched after years of use.
Frequently asked questions
How can you tell whether the jacket is wetting out or leaking?
Look for the pattern, not just the feeling of being wet. Wide dark areas on the outside suggest the face fabric is holding water. A recurring wet spot inside, directly beneath a seam or zipper, warrants closer inspection. Moisture spread across your back or chest can also be sweat or condensation.
What should you check before washing a rain shell?
Read the tag for the wash temperature, permitted cycle, type of cleaner, and drying restrictions. Empty every pocket and look for lifting seam tape, tears, and hardware damage before the wash. Fasten or leave closures as the manufacturer specifies, and keep the shell away from rough or heavily soiled laundry.
How do you wash the jacket without guessing at the settings?
Use the garment maker’s instructions for the water temperature, amount of cleaner, cycle and rinse. A compatible mild liquid cleaner is common, but not universal. The correct dose and wash steps depend on the shell and product, so do not transfer settings from a different model or treat stains with unapproved additives.
When should you dry, reactivate, or add new repellent?
First let the clean jacket dry by a method it permits. If the manufacturer calls for gentle heat to reactivate the existing finish, follow those exact directions before applying anything new. Retest after drying. If clean, intact fabric still wets out, choose a compatible repellent and follow that product's instructions.
What should you do about peeling tape, worn cuffs, or a real leak?
Stop treating a repeat leak as a laundry issue. Examine seams, closures and high-wear areas, then use the jacket maker’s repair guidance. Photograph any peeling tape, fabric separation or tear and record where water appeared. Keep an unverified or damaged shell off trips where reliable weather protection is essential.
How should you store the jacket between wet trips?
Dry the shell fully before putting it in a bag, sealed box or crowded closet. Use the maker's storage directions and check folds, hood and pockets for trapped moisture. At the next unpack, look for visible abrasion and lifted seams before relying on the shell in sustained rain or wind.