
How to Prevent Condensation on a Camera Lens
Written by Outdoors Magazine|
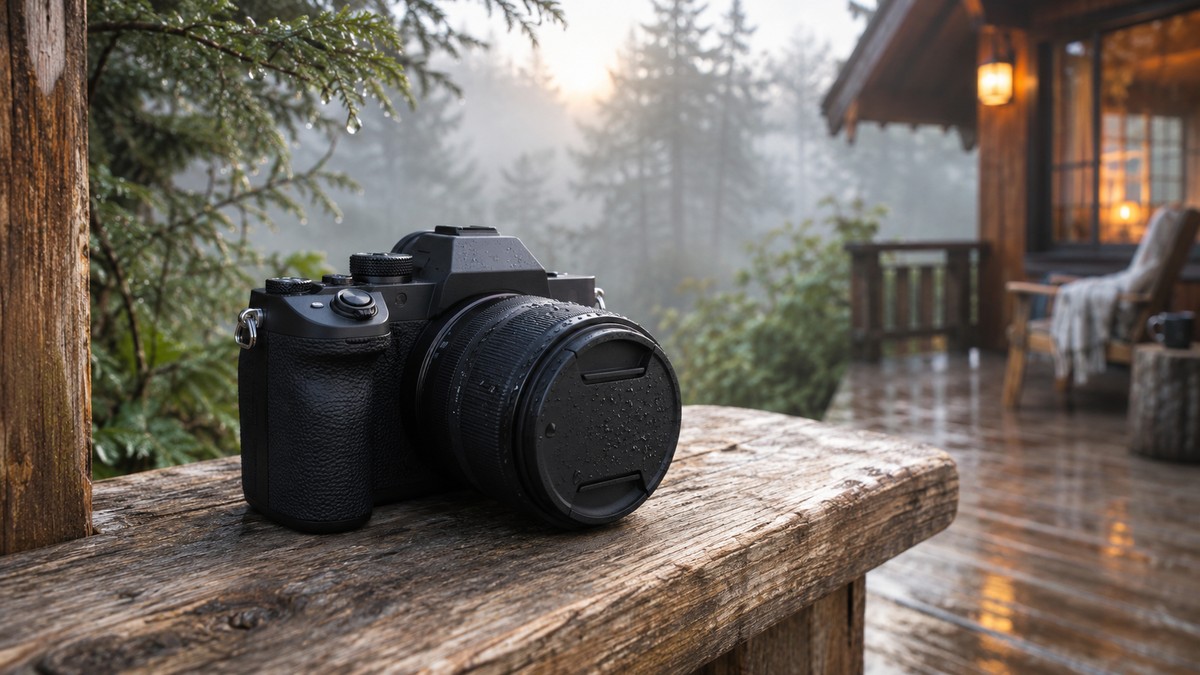
Prevent lens condensation by sealing dry, cold camera gear before exposing it to warmer, humid air, then letting it gradually approach the new temperature before opening the bag. Condensation can occur on the outside or inside equipment; follow the care instructions for the specific body and lens.
Key takeaways
- Seal dry cold gear before exposing it to warmer, moist air.
- Allow gradual acclimation and follow the current model’s care instructions.
- If moisture appears, turn off the camera and let manufacturer guidance determine the next step.
Prevent lens condensation by sealing dry, cold camera gear before exposing it to warmer, humid air, then letting it gradually approach the new temperature before opening the bag. Condensation can occur on the outside or inside equipment; follow the care instructions for the specific body and lens.
Why does a camera lens fog up after a temperature change?
A cold lens can cool nearby humid air enough for water vapor to condense on its surface. The mist you see is made of droplets, not a defect in the glass. Indoor heat after a cold outing and humid outdoor air after leaving air conditioning can both produce the same effect.
The National Weather Service describes dew point as the temperature at which moisture begins to condense from air. A lens does not have to be freezing or exposed to rain. It only needs to be cold enough relative to the dew point of the new air. That is why one room causes very little fog while another, apparently just as warm, produces a milky front element almost immediately.
Think of a cold drink getting wet on the outside. The water was in the air, not seeping through the glass. A camera adds crevices, electronics, a lens mount, and internal optical surfaces, all of which make abrupt transitions less forgiving. If you cannot tell whether a lens is still cooler than the destination, plan for extra time rather than treating the outside temperature as the only clue.
How should you pack a cold camera before going indoors?
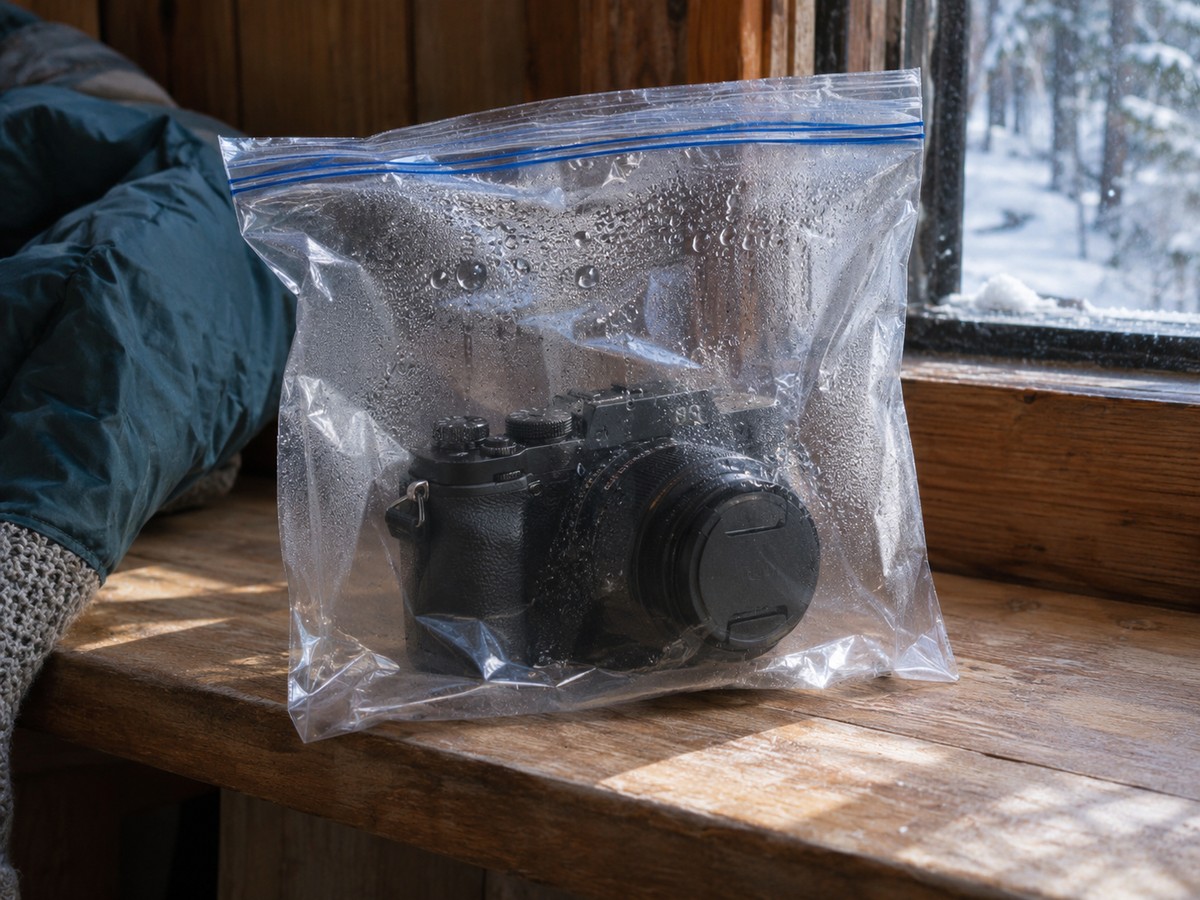
While the equipment is still in the cooler environment, turn it off and place the dry camera and attached lens in a clean, dry, sealable bag. Close the bag before entering the warmer space. Let the equipment warm up inside the sealed bag instead of repeatedly opening it to check the glass.
Nikon’s cold-weather guidance and Sony’s camera handling instructions both address this transition. The key detail is where the bag is closed. Sealing equipment after it is already inside leaves the new humid indoor air in contact with the cold camera. Packing before the doorway changes which air surrounds the gear while everything warms. Use a bag that actually fits without forcing the lens or compressing a switch.
Keep rain-soaked clothes and used cleaning cloths out of the same enclosure. If there is standing water on the exterior rather than a little frost or loose snow, handle that first according to the model’s manual; the acclimation method is not a storage recipe for waterlogged equipment. A padded case still protects against bumps, but an ordinary zipper may not keep humid air out the way a dry sealed inner bag does.
How long should you wait before opening the bag?
Do not rely on a fixed time for every camera. Wait until the equipment has adjusted to the new environment, following the model’s manual when it gives specific instructions. A small camera after a mild change and a large lens after hours outside in deep cold do not warm at the same rate.
A household shelf away from heaters is a better waiting spot than an active radiator, dashboard in direct sun, or duct blowing hot air. Fast heating does not tell you whether the middle of a large lens has caught up with its barrel. The camera and lens are a system with multiple surfaces. Choose a gradual, uninterrupted wait over any shortcut that relies on warming the exposed front glass alone.
A practical habit is to build warming time into the trip. Pack the body you intend to use next near the top of your equipment and postpone editing until it is ready. Keep spare media in a separate case if you often need to start sorting pictures right away. That way you are not tempted to open an equipment compartment while the cold camera is still acclimating.
What changes when you leave air conditioning for humid weather?
The same principle applies in reverse when an air-conditioned car or room has chilled the gear below the outdoor dew point. Keep dry, cold equipment isolated from the newly humid air as it acclimates, and begin the transition before you need the first frame. Avoid opening lens or card compartments just to test readiness.
A summer coastal morning can present a noticeable change even though neither environment feels cold by winter standards. A camera taken from a cool hotel room to a humid dock may mist faster than the same camera on a dry fall afternoon. Put the sealed bag somewhere protected from sun and splashes while it warms, and do not confuse warming gradually with baking the gear in direct summer heat.
Think of each transition as a separate event. You may go from a cool rental car to a damp boardwalk, then back into air conditioning for lunch, then into the heat again. If you know you will repeat the cycle, bring a clean spare bag rather than returning dry equipment to one that has collected moisture. Reduce unnecessary transitions when possible, especially when good light will last only a few minutes.
What should you do if you see moisture on the lens?
Stop shooting, turn the camera off, and follow the manufacturer’s instructions for moisture or condensation. Do not repeatedly power the equipment on, change lenses in humid air, or force-dry it with direct heat. If fog remains inside an optic or a camera malfunctions after drying, ask the manufacturer or an authorized technician for advice.
Mist on the exposed front surface is not the same as fog behind an element or droplets near an opening. In many cases you cannot locate every affected surface by looking through the lens. Treat uncertainty as a reason to leave the gear alone and read the correct manual. If the equipment was splashed or submerged, the manufacturer’s instructions for liquid exposure, not just the instructions for ordinary mist, are the relevant ones.
Do not wipe repeatedly in the hope of fixing a surface that immediately mists again. If the lens is still cold, exposing it to more humid air can recreate the same conditions. Once the equipment is dry and acclimated, address fingerprints or water spots using the maker’s normal cleaning guidance and permitted materials. Avoid household sprays and convenience shortcuts. When you cannot establish whether water entered the body, a repair consultation is better than guessing.
Does weather sealing make acclimation unnecessary?
No. Weather resistance describes a manufacturer’s stated protection under particular conditions; it is not a promise that humidity, dew, or condensation cannot affect equipment. Read the instructions for both the body and the attached lens, including any limits on operating temperature and conditions. Keep using a gradual transition when the surrounding temperature and moisture change sharply.
A lens advertised as weather resistant may have a different protection statement from the body. Some assemblies include accessories, ports, or rings that the manufacturer describes separately. Unless documentation for the equipment you actually own covers a condition, do not infer protection from a different model or a slogan. Even favorable sealing information does not tell you whether a particular unit still performs the same after being dropped, repaired, or heavily used.
A rain cover and a sealed acclimation bag solve different problems. A cover may help deflect rain in use, as directed by its maker. It does not necessarily control which air touches the optics. Likewise, a storage bag is not designed to let you operate equipment during rain. Knowing which problem you are solving prevents overconfidence about both tools.
What does a low-stress camera transition look like?
Treat the temperature change as a small part of the shooting schedule. Identify it before leaving, keep your sealing materials ready, and decide where the gear can warm gradually without getting wet or overheated. Set aside spare batteries or cards before packing so you do not need to reopen a cold camera urgently.
Imagine photographing fog from a public lakeside path in cool weather and returning to a heated room. Before crossing the doorway, move to a dry sheltered area outside, turn the camera off, and put it into a suitable dry inner bag. Leave that closed as the gear warms in a stable place. Use the waiting period to jot down which exposures to revisit rather than test whether the lens is ready every few minutes.
For a hot-weather outing, do the preparation before leaving a building or switching off the car. Think about where the first picture will come from so you can acclimate in a dry place before you get close to spray or falling rain. When you expect repeated changes, plan a single outdoor block instead of shuttling several times between indoor and outdoor air. No image is worth opening equipment at the worst moment simply because the calendar was crowded.
Which items make this routine easier without adding clutter?
A dry sealable bag sized for the camera and lens, a protective outer case, and a separate place for damp accessories cover most of the routine. Spare caps, separate media storage, and an optional manufacturer-approved drying aid can help, but the important pieces are a good seal and enough time to acclimate.
Check the bag at home. It should fit the largest combination you will actually use without pressing buttons or catching on a sharp edge. If you carry multiple lenses, one loose bag for everything may force you to expose more equipment than necessary. Separate dry bags can make it easier to keep the items you are not using isolated until needed. Never reuse a damp bag for dry equipment without drying it first.
A notebook or short phone reminder can be more useful than another accessory. Include a step at the start and end of the trip for large temperature changes, just as you might include a reminder to clear cards or check files. After a couple of outings, the point in the routine becomes obvious: seal before the change; wait after it. When plans change or lighting moves quickly, work within the gear’s limits rather than inventing an exception.
Can you use the same routine with binoculars or other optics?
You can use the same principle with many dry optical devices, but the enclosure, temperature limits, and moisture handling instructions may differ. Consult the device’s own manual. A generic photography trick should not override the manufacturer’s advice for waterproof housings, powered optics, integrated seals, or equipment already exposed to significant liquid.
It is useful to look for a section called care, operating conditions, or moisture condensation in the documentation. Save the model’s manual offline before a trip if a signal may be unavailable. If the guidance differs across accessories, follow each item’s limits, not the easiest common assumption. Avoid treating one example described by a camera maker as an endorsement for an unrelated setup.
A useful distinction is whether the destination air is warm and moist or simply warm. A dry workshop and a bathroom full of shower steam can feel similarly warm but present very different conditions. Do not choose the steamiest room as a warming station merely because it is the nearest place indoors. A stable, dry place is the more forgiving default.
After an outing, dry the outer case separately from the camera. A padded case may still contain damp straps, pockets, or foam even when the outside looks fine. That is a storage issue, not a cue to leave a sealed acclimation bag in a closet indefinitely.
For a different low-impact outing where optics are often handy, see beginner-friendly outdoor activities beyond camping. The technical references for this guide are Sony’s Help Guide, Nikon’s cold-weather care guidance, and the National Weather Service explanation of dew point.
Frequently asked questions
What does a low-stress camera transition look like?
Treat the temperature change as a small part of the shooting schedule. Identify it before leaving, keep your sealing materials ready, and decide where the gear can warm gradually without getting wet or overheated. Set aside spare batteries or cards before packing so you do not need to reopen a cold camera urgently.
Which items make this routine easier without adding clutter?
A dry sealable bag sized for the camera and lens, a protective outer case, and a separate place for damp accessories cover most of the routine. Spare caps, separate media storage, and an optional manufacturer-approved drying aid can help, but the important pieces are a good seal and enough time to acclimate.
Can you use the same routine with binoculars or other optics?
You can use the same principle with many dry optical devices, but the enclosure, temperature limits, and moisture handling instructions may differ. Consult the device’s own manual. A generic photography trick should not override the manufacturer’s advice for waterproof housings, powered optics, integrated seals, or equipment already exposed to significant liquid.