
How to Keep a Beginner Birding Checklist
Written by Outdoors Magazine|
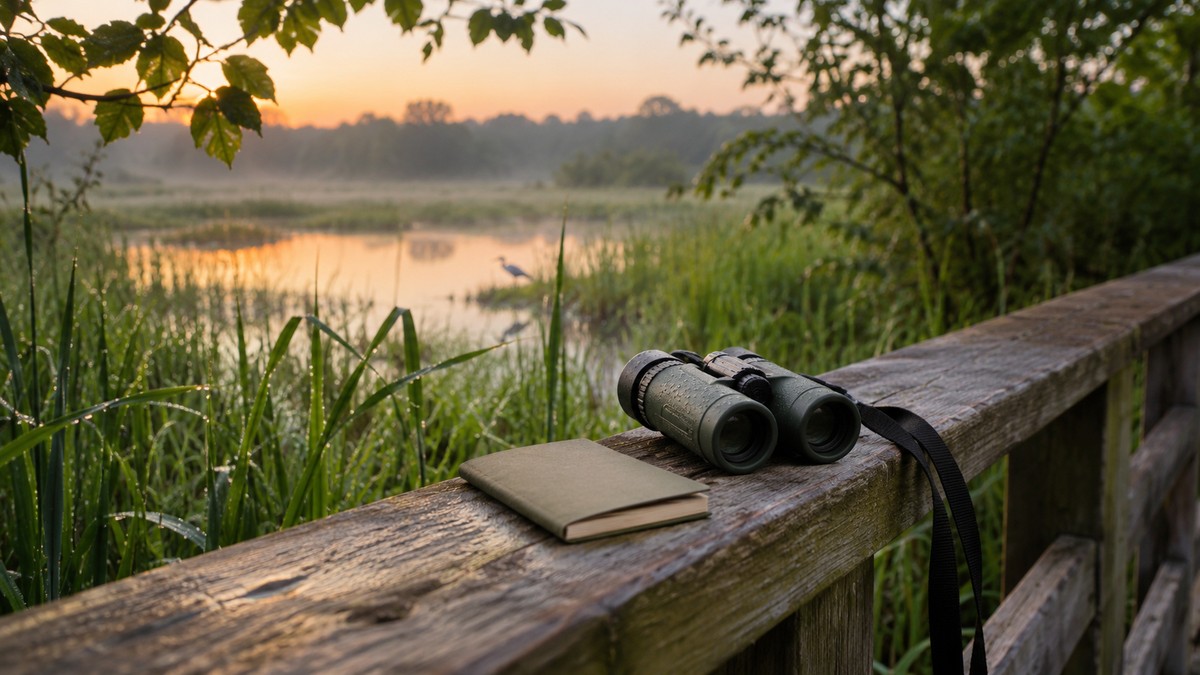
An honest birding checklist records the place, time, search effort, and wild birds you could identify without guessing. Start with one small public site, write a few observations in your own words, and let birds keep feeding, resting, or moving without interruption.
Key takeaways
- Record effort and location before entering unfamiliar species.
- Report all the wild birds you identified if marking an eligible eBird checklist complete.
- Keep uncertainty and sensitive locations out of public claims you cannot support.
An honest birding checklist records the place, time, search effort, and wild birds you could identify without guessing. Start with one small public site, write a few observations in your own words, and let birds keep feeding, resting, or moving without interruption.
What belongs on a beginner birding checklist?
Record the date, start time, location, and how long you actively watched or listened. If you moved while birding, record the distance you actually covered. Then list each wild bird you can identify, with a count when practical and a note about anything uncertain or unusual.
Keep the first page of a new notebook simple. A site name, a start time, a finish time, and a short species column are enough for the first outing. Leave room next to each name for a count or a short description. Write direction as a word rather than as a tiny arrow that will make no sense later. “Two flew low across the pond toward the parking lot” is more useful to your future self than a bare tally and a scribble.
A paper notebook and a phone can serve different jobs. A notebook lets you jot down details without opening an app or waiting for reception. An app makes it easier to capture effort details or upload a checklist later. Use whichever will keep your attention on the birds. Do not feel you need a running log of every minute; add timestamps when something important actually changes.
What makes an eBird checklist complete?
A complete checklist in Cornell Lab’s eBird system means that birding was your primary purpose and that you reported every wild species you identified to the best of your ability. It does not mean seeing or naming everything nearby. Leaving an unidentified bird unresolved is better than assigning it a species you cannot support.
Do not quietly leave out familiar species, heard-only species you can identify, or birds that are less exciting than the one you came to find. A report with only a highlight species serves a different purpose from a complete checklist. It can still be useful, but it should not be described as complete if you intentionally omit species you recognized. Take eBird’s prompt about completeness literally.
The distinction matters when looking back at your own notebook, too. A return visitor comparing two lists may otherwise assume a common bird disappeared when you simply stopped writing it down. A short line reading “highlights only, mainly on a family walk” preserves the value of what you noticed without making your record look more comprehensive than it was. You can make field notes on any outing; eBird’s complete-checklist label is more specific.
How should you count birds without double-counting?
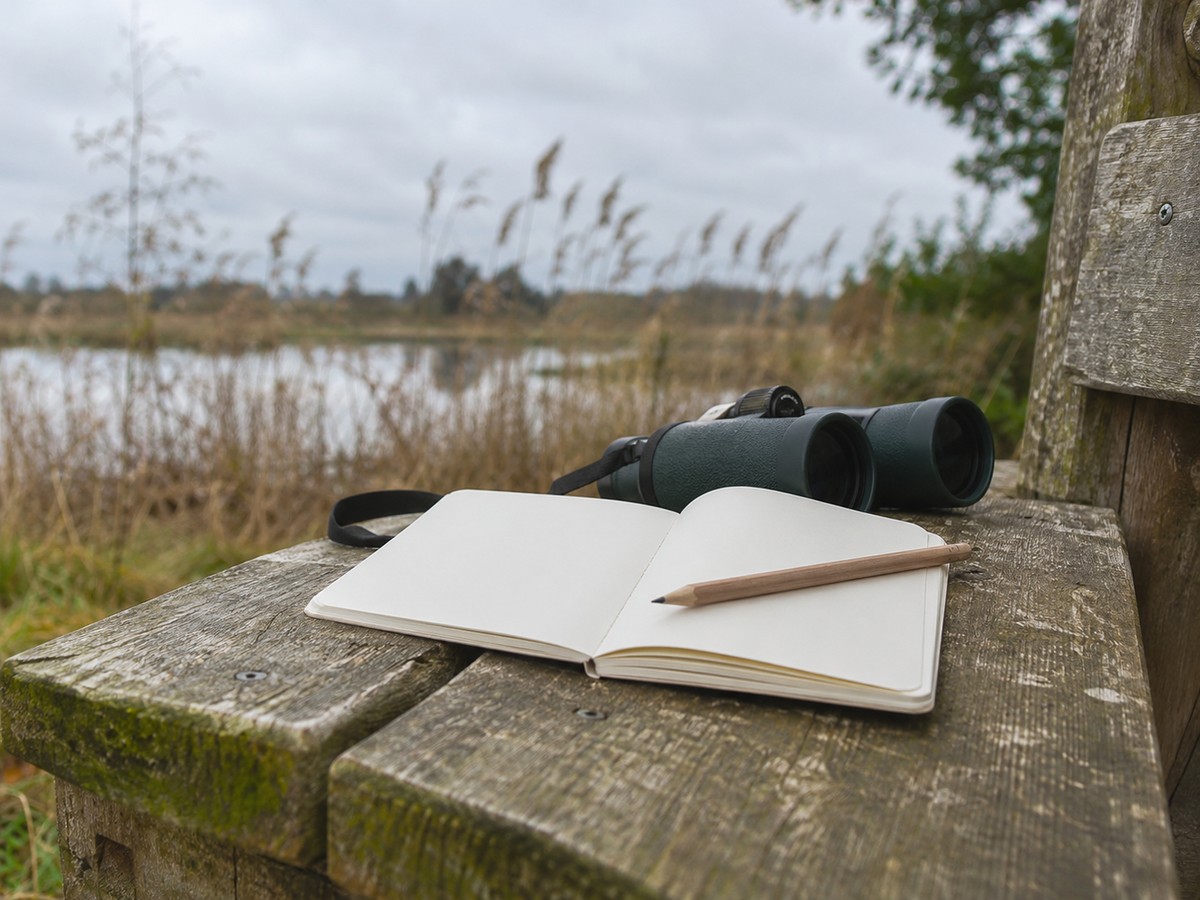
Count identifiable individuals directly where they hold still or move in a clear direction. In a loose flock, a careful estimate is more useful than an invented exact number. When you cannot distinguish returning birds from new arrivals, write down the largest number you confidently saw together and note that birds were moving.
Start with the birds that are easiest to separate. For ducks on a small pond, pick one end and scan across instead of jumping from the middle to the edges and back. If a close bird swims behind vegetation, pause briefly before changing your total. Use plumage, direction, or a fixed landmark to tell whether it is the same one. You can use different methods for different birds on the same outing.
Be clear about the difference between a simultaneous count and a count over time. A note such as “minimum count; several birds moved through twice” tells a reader how you handled uncertainty. If an estimate felt shaky, do not improve it from memory after getting home. Check the eBird guidance for the appropriate way to report a count when precision is not possible, rather than treating a placeholder as an exact number.
What details help identify an unfamiliar bird later?
Record what you saw or heard before looking for a species name. Useful observations include size relative to a known bird, bill shape, movement, the placement of a strong marking, and the kind of place the bird used. Leave uncertain colors and incomplete views labeled as uncertain rather than tidying them into facts.
“Small bird” is a start, not an identification. Add whether it climbed up a trunk, flicked through low shrubs, or perched in the open. Describe the outline of the bill from the side if you could see it. If it disappeared in silhouette, avoid making up colors simply because a candidate in your field guide looks familiar. If you only heard one short call, record it as a call rather than claiming you heard a repeated song.
Compare likely species after the outing, reading differences as carefully as similarities. An app suggestion is a clue, not an independent confirmation of whatever was actually present. If two species cannot be separated from your notes, keep the observation unresolved or use a broader group when you can support that level. The early goal is recognizing which evidence you had, not maximizing the number of names on a list.
How do you choose a good first recording spot?
Choose an authorized public spot you can return to easily, such as a familiar park bench, a pond overlook, or an accessible viewing platform. A short watch at a single clearly defined location makes the effort easier to record and gives you a useful baseline before you compare different habitats or walks.
A familiar location frees up mental space. You know which side of a pond is in glare in the morning, which path is noisy, and where a bench allows a long view without blocking other visitors. At a new site, note public entrances and viewing areas before you set up. A posted closure is a reason to change your plan, not an invitation to step around a sign for one more observation.
When practicing, pick a place where you can listen without having to constantly move. An open overlook on one visit and a sheltered bench on the next can teach very different observation habits. Use separate notes if you change sites or make substantial changes in effort. Do not collapse an entire drive with roadside stops into a single location that makes the observations look more precise than you can defend.
How can you take notes without disturbing birds?
Watch from established public areas and give birds room to feed, rest, and move normally. If your approach changes a bird’s behavior, ease back rather than testing its tolerance. Avoid playback or repeated approach near nests and sensitive birds, and follow posted rules even if another observer appears to be ignoring them.
The American Birding Association’s ethics code prioritizes the birds and their environment over getting closer. Make that concrete: if you see birds repeatedly turn away, stop feeding, or shift position while attention is fixed on them, stop advancing and make more space. It may be hard to tell which observer caused the change. It is still easy to decide not to add pressure.
Be equally careful when sharing observations. A general site description can be enough for a personal field note. Before posting exact nest or roost details publicly, follow local rules and the reporting platform’s guidance for sensitive species. Respect private property, trail closures, other visitors’ access, and the reasonable expectation that a public path remains open to people who are not birding.
How should you organize a repeatable outing?
Choose a familiar starting place, write down when the observation period begins, and use a consistent route or viewing area. Record changes in weather, noise, visibility, or effort that could affect detections. Then repeat the outing when it is convenient rather than forcing every visit to match an ideal schedule.
Here is an example, not a real checklist: settle at the north pond overlook shortly after sunrise, listen for a moment before writing, then watch the same stretch of shoreline for fifteen minutes. Count birds as they enter or leave that visible area. At the end, note if road noise increased or the sun moved into your eyes. That information will help you make sense of a later visit with a shorter list.
There is a meaningful difference between “I did not detect this species” and “it was absent.” The first is something you can support; the second generally asks more of the observation than a beginner’s short watch can deliver. Try treating each repeat visit as an exercise in observation rather than a race to exceed the previous total. A comparison of similar effort can help you notice patterns without claiming that one outing proves them.
What should you check before submitting a checklist?
Recheck the date, location, start time, duration, and observation type, then compare the species entries with your original notes. Mark a checklist complete only if it qualifies. Keep ambiguous birds at a defensible level, and review public notes for details that might reveal a sensitive location or another visitor’s private information.
When a list was shared among friends, talk through the count before submission rather than combining everyone’s tally by addition. Two people who watched the same crossing flock may have recorded the same individuals. If part of the group went to a different part of the park, keep that difference visible instead of pretending everyone did the same route. The goal is to make the submitted record reflect what actually happened.
Give yourself a final line that asks what you learned about your own observation. Perhaps switching which direction you scan helped, or you realized how little detail a glare-filled lookout provides. Save that note for the next outing. A good checklist is not a promise that every identification is perfect; it is a record that is specific about what you know and honest about what you do not.
Can you go birding without recording a checklist?
Yes. Watching quietly without recording anything is a valid way to spend time outdoors. A checklist helps if you want a record to compare later or if you want to contribute observations, but it is optional. The value of the outing does not depend on apps, expensive optics, or a long species total.
A paper list in a coat pocket is a good middle ground between publishing everything and relying entirely on memory. Add a quick note after the outing about the one thing you want to recognize next time. That could be a flight silhouette, a call you could not place, or the difference between a bird feeding on bark and one feeding nearby on the ground. Do not use your notes as a reason to watch the same sensitive spot more insistently.
A simple notebook symbol can keep these distinctions clear: a question mark for an unsure identification, a tilde for an estimate, and a short written note for observations that changed as you watched. Use symbols you remember, not a code invented in the moment. If the list is for personal use only, there is no need to translate a solid field note into a species entry just to make the page look complete.
When recording weather, describe what affected your senses: wind shaking the leaves, glare on the water, or people talking nearby. Those entries explain why a repeat visit may feel different without requiring a weather station or a numerical wind measurement.
For another way to plan a simple field outing, see beginner-friendly outdoor activities beyond camping. Official guidance: Cornell Lab eBird checklist basics, eBird rules and best practices, and the American Birding Association Code of Birding Ethics.
Frequently asked questions
How should you organize a repeatable outing?
Choose a familiar starting place, write down when the observation period begins, and use a consistent route or viewing area. Record changes in weather, noise, visibility, or effort that could affect detections. Then repeat the outing when it is convenient rather than forcing every visit to match an ideal schedule.
What should you check before submitting a checklist?
Recheck the date, location, start time, duration, and observation type, then compare the species entries with your original notes. Mark a checklist complete only if it qualifies. Keep ambiguous birds at a defensible level, and review public notes for details that might reveal a sensitive location or another visitor’s private information.
Can you go birding without recording a checklist?
Yes. Watching quietly without recording anything is a valid way to spend time outdoors. A checklist helps if you want a record to compare later or if you want to contribute observations, but it is optional. The value of the outing does not depend on apps, expensive optics, or a long species total.