
How to Use Offline Maps for Hiking
Written by Outdoors Magazine|
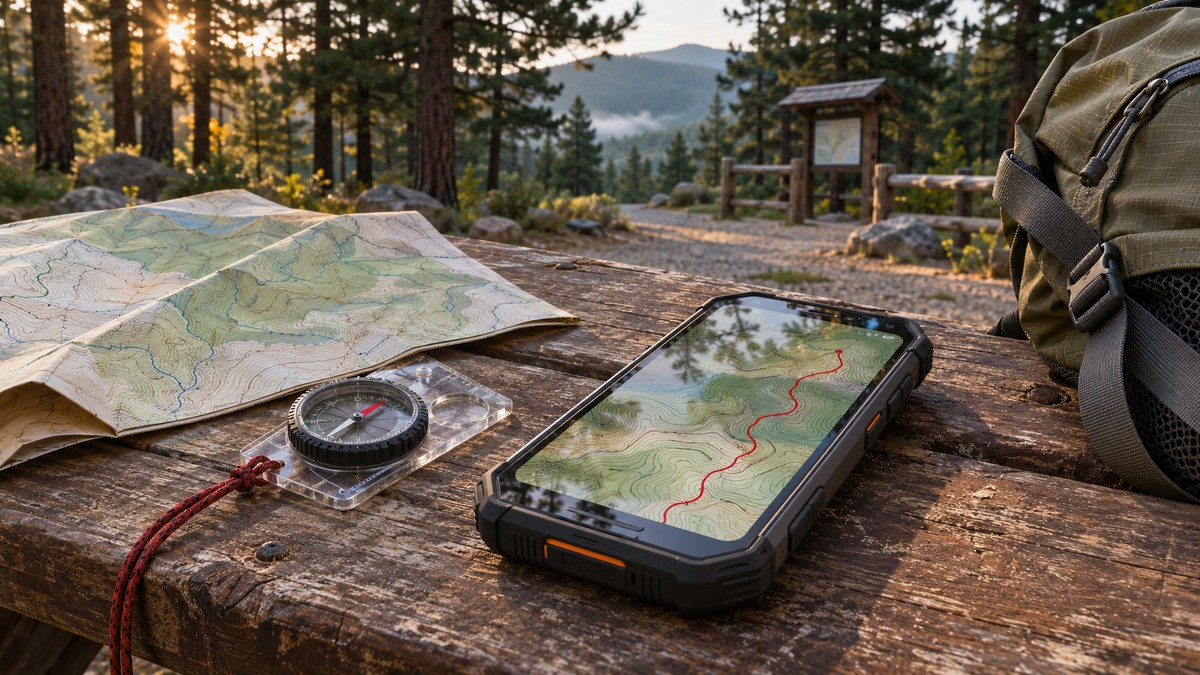
Download the detailed trail map and route before leaving, test both with your phone offline, and carry a paper map and compass you know how to use.
Key takeaways
- Download a detailed area map and save the actual route.
- Verify detail and route availability with cellular data and Wi-Fi off.
- Carry a paper map, compass, charging backup, and itinerary.
- Official trail signs and closures supersede an old download.
Download a hiking map and save your route at home, then open both with your phone offline. Make sure your map covers the trailhead, return route, and any planned exits. Carry a paper map and compass you know how to use, and check official trail conditions before relying on any saved route.
What works on a phone without cell service?
A compatible phone may still get a satellite location fix away from cell service, but that does not mean your maps, route instructions, or trip details are saved. Download the underlying map and the route separately if your app requires it. Test the exact screens you expect to use before your hike.
Think of the system as three parts: the location reading, the map beneath it, and the route line or directions. The phone can have a usable location while the map screen is blank, or a loaded map while a route has vanished. An app that shows a thin preview at home may use different data when you zoom in. The only version that matters at a junction is what remains on your own device when the connection is gone.
Park websites and published official maps establish the local context: a trail name, whether a connector is open, and whether a route is actually intended for hiking. A digital dot is location information, not a judgment about terrain, access, or the right trail to the next junction. The National Park Service's Ten Essentials recommends knowing how to use your navigation equipment and carrying a physical map as a backup. Start there, not with a promise from a feature list.
What should you download before leaving home?
Save a detailed map from beyond the trailhead to beyond your farthest planned point, not just a narrow strip along the route. Include the return, nearby junctions, and established exits you might actually use. Keep the official land manager map and any current closure notice available separately from the app.
Open the route while you can still compare it with a current park or forest map. Note the trailhead name and approach road, the direction you intend to walk, the main decision points, and the named trail you will follow back. For a loop, identify where the outbound and inbound trails diverge. For an out-and-back, label the destination and a conservative turnaround point separately; they are not the same if the forecast, pace, or crossing changes.
Do not size a download solely to the line's visible shape. A clipped area may omit a mile of the approach road, the other side of a river, or the permit trailhead where everyone else started. Download enough of the surroundings to see a ridge, valley, or junction in context, then verify the app shows those features at a scale you can read. The USGS topoView guide explains contour maps and how to find mapping by scale and date. A topo map complements a current official trail map; it is not proof that a connector still exists.
- Map: Save a detailed base layer and confirm the included area.
- Route: Save the planned hike or route file, not only a link to a trip report.
- Decisions: Mark named trailheads, junctions, and established exits you have checked.
- Conditions: Save the latest official notice you read, with its date, and recheck it near departure.
- Backup: Carry the correct printed or physical map and a compass you can use.
A saved notice is a snapshot, not a live feed. If the visitor center, trailhead posting, or ranger gives a newer official instruction, the old file does not supersede it.
Do Apple Maps and Google Maps have the same offline features?
No. Apple documents offline walking directions where downloadable maps are supported, while Google says its offline maps do not provide walking directions. Either may still help you find a trailhead before departure, but verify actual hiking coverage, route availability, and download behavior rather than assuming a road map is a trail navigator.
Apple's iPhone guide describes regional offline downloads, and its saved walks and hikes guide distinguishes downloading a saved route and its surroundings. Features depend on the supported device, software, and area. Look for the download state on the device you will carry. Do not assume a saved route on one phone has arrived on another, including a companion's device.
Google's Android help and iPhone help both describe the offline walking-direction limitation. A road-map download can still be useful for the drive and for seeing a town or access road. It is not the only dataset to take on a wooded loop with an unmarked intersection. If a dedicated trail map app is in your plan, consult that app's current official help for downloads and confirm the desired map layer is stored locally. This guide compares documented features, not advertised accuracy or field-test results.
There is also a useful difference between a screenshot and an offline map. A screenshot is a fixed picture. It may preserve a closure bulletin or a particularly hard-to-read junction label but will not update your position or reveal an area outside its crop. If you keep one, include enough identifying context to know which junction it depicts and keep it beside, not instead of, your usable map.
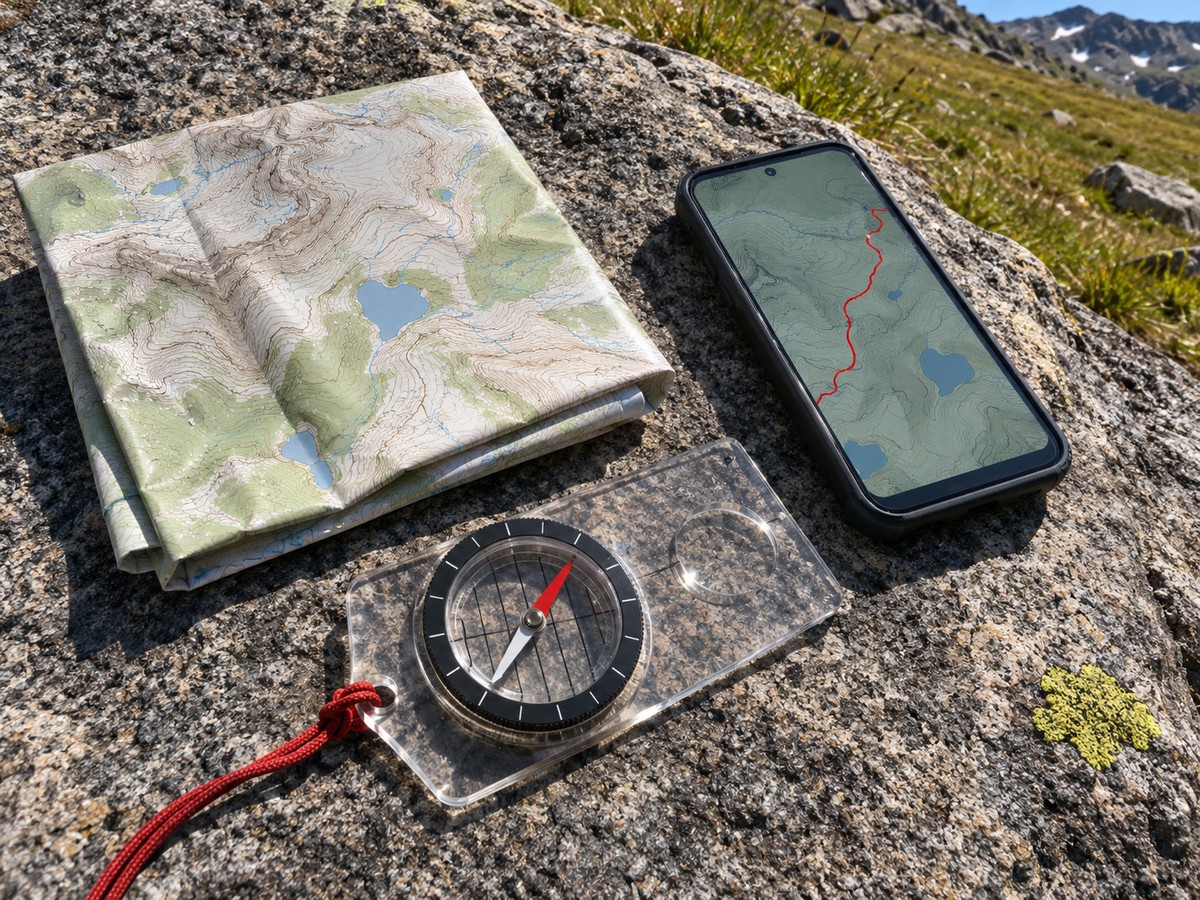
How can you test the whole setup before the hike?
With downloads complete, go outside somewhere familiar, temporarily turn off cellular data and Wi-Fi, then open the app. Zoom to junction detail, open the saved route, and check whether the device can show its position. Restore your connections afterward. If anything important disappears, fix the download or use another map.
Start by opening the map in the same way you intend to open it on the hike. If your usual routine is to tap a message containing a link, do not count that test unless the content opens with no connection. Find the item inside the app library, not through a browser tab that only happened to be open. Switch to a different app and come back. Then zoom a junction, pan beyond the trail corridor, and return to the trailhead without reconnecting. Check both the planned layer and the route line.
Next, stand in a familiar outdoor spot, give the device time to establish a position, and check whether the map is displaying a current location rather than a remembered one. The purpose is to catch mistakes in setup, not to certify accuracy under tree cover or deep in a canyon. Use the paper map to name where you are without the phone. If it takes several minutes to find the relevant sheet, refold or organize it before you go.
Check your carried power bank with the same cable, port, and phone that will be in your bag. A charging icon at home is more useful than learning about a worn cable in the rain. Keep the battery and connector protected from water, and consider whether anyone else in your party can navigate if the primary phone is dropped or stops working. The NPS hiking safety guide cautions against relying on a cell phone and recommends a separate emergency plan.
How should you use offline maps at trail junctions?
Stop somewhere safe before reaching for your phone, and compare the route line with your direction of travel, the trail signs, and the terrain around you. If the display disagrees with an official closure, follow the closure. If you are unsure which branch is correct, do not continue by guessing.
Use junctions as planned check-ins rather than waiting until the route feels wrong. Notice what you expected to pass before the junction: a signed viewpoint, a bridge, or a sustained climb. Check the direction you arrived from and keep your choices tied to named trails. A dashed line may be a different kind of feature depending on the map legend; read the legend before assuming it represents a maintained public path.
Suppose your planned loop starts on Creek Trail, takes Ridge Trail at a fork, and returns via a marked Connector Trail. When the fork appears, first look for the official names. The phone is a cross-check, not a vote against an official notice. If the connector is closed or unclear, the conservative established option may be the same signed route you already walked, if it remains safe. Do not invent a short cut through a drainage or cliff band because two trails look close on the screen.
A position estimate that bounces across a junction does not mean you are moving. Compare it with how long you walked, the last place you could identify confidently, and the terrain you can actually see. Paper and compass skills take practice; a first easy outing with clear markings is a better setting to learn them than a remote route with no signal. If you are lost or injured, follow the emergency plan appropriate to the area and contact local emergency services when you have a way to do so.
What belongs in the backup plan besides a paper map?
Carry a paper map and compass you know how to use, an appropriate power bank, and the essentials for the route. Leave your itinerary and expected return time with someone who is not hiking with you. Check the land manager's advice about emergency communications; neither offline maps nor GPS guarantee a way to call.
Write down the land manager, trailhead, relevant road access, planned route, and return time where your companion can find them. Agree on the time at which your contact should take action if you have not checked in and what information to give. A plan is most useful when it describes the route you will actually attempt, with enough allowance for the day but not an open-ended promise to get in touch later.
For an unfamiliar route, learn the difference between a planned turnaround time and the time at which your contact calls for help. The turnaround time is a decision you can make while everyone is still moving comfortably. The overdue time is an agreement with the person at home. Our guides to packing for a hiking trip and planning a solo hike cover the broader kit and itinerary. Check local recommendations for remote routes, then choose a hike whose navigation demands your group already knows how to handle.
Before shutting the car door, ask one final question: could the group return by the known route if the phone went dark now? If the answer depends on downloading something later, lower the stakes by choosing a simpler route until the kit and the plan are ready.
What does a complete practice plan look like?
Choose a short, well-marked local trail, and treat the phone as one of several ways to check your location. Save the route and surrounding area, print the official map, name each junction, and rehearse with no connection. The objective is to find missing pieces, not to compare GPS precision.
Make the exercise easy to evaluate. Pick a named parking area and two obvious places along the path that you can recognize independent of the app. At the first, ask someone else to find the return route on paper. At the second, ask someone to pull up the saved map and point out the next junction. Then compare what each person saw with the official sign. If any step depends on one person's account, a fresh download, or a label that is too small to read, fix that before taking the routine on a longer outing.
Keep what worked and simplify what did not. You may find that one overview map makes the day's route easy to explain, while a printed inset makes a busy trailhead clear. You may also find that a useful app has a less obvious way to switch base layers offline. Those are useful results. A practice walk cannot predict battery life or accuracy in every place, but it can keep obvious setup mistakes out of the first miles of a remote hike.
Frequently asked questions
Does a phone need cell service to show where you are?
A compatible phone may be able to determine location from satellites without cell service, but its map and route must also be available locally. Test your device and app ahead of time. A position estimate alone does not tell you whether a route is open, safe, or correctly identified.
Can Google Maps give walking directions offline?
Google says walking directions are not available offline. A Google Maps download can still be useful for the approach drive, but it is not a substitute for a detailed hiking map. Verify the actual trail data and take an independent backup.
Is a screenshot enough to navigate without service?
A screenshot can save a label, junction detail, or notice, but it is a fixed picture. It will not move with you or show places outside its frame. Carry a detailed offline map and a paper map you can use instead of relying on a screenshot alone.
What should I do if the map shows a closed trail?
Follow the official closure instead of the map display. Use an established alternative you have verified is allowed and safe, or return by your known route if that remains safe. A saved map or route does not override newer instructions from the land manager.