
How to Photograph the Night Sky With Your Phone
Written by Outdoors Magazine|
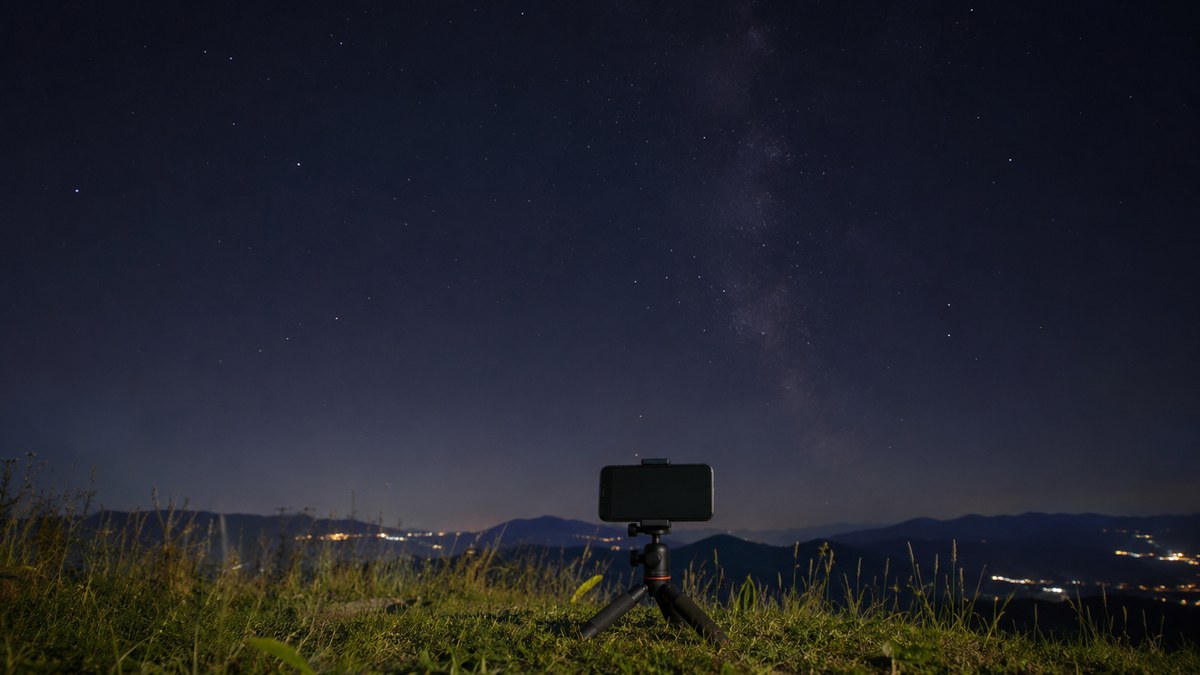
A steady phone and a dark patch of sky matter more than an expensive camera app. Set the phone on a tripod or a solid surface, turn off the flash, frame a bright constellation at 1×, and take a test with night mode and a short shutter delay. Keep the phone still until capture finishes, then zoom into the saved image to check the stars.
Key takeaways
- Start in a dark direction after twilight and choose a recognizable group of stars.
- Keep the phone still, switch off the flash, and try the main camera at 1×.
- Check focus in the saved photograph, not just the live preview.
- Change one setting at a time and keep your original file.
A steady phone and a dark patch of sky matter more than an expensive camera app. Set the phone on a tripod or a solid surface, turn off the flash, frame a bright constellation at 1×, and take a test with night mode and a short shutter delay. Keep the phone still until capture finishes, then zoom into the saved image to check the stars.
Hero: Generated editorial photograph for illustration.
For your first outing, aim for a recognizable group of stars above a simple horizon. A constellation over a tree line is a better practice subject than a faint galaxy. You can tell whether you found the right part of the sky, whether your stars stayed sharp, and whether the foreground adds anything. Make those three decisions before changing camera settings.
What do you need to photograph stars with a phone?
You need a phone camera, a way to hold it still, and enough darkness to see your target. A compact tripod and secure phone clamp are convenient, but a wide, stable surface can work if the phone cannot slip. Start with the built-in camera app before adding gear or software.
Bring enough light to walk and handle the tripod safely. Keep that light off the lens while the camera is recording. A flashlight pointed straight down can help you find a dropped clamp without lighting the foreground in someone else's shot. Check the position of the tripod legs before you turn the light off. A phone balanced insecurely over a creek, a cliff edge or the side of a car is not worth the angle.
Before leaving home, check how your phone holds a long photo, what the timer looks like, and whether your preferred camera lens works with its night setting. Practice finding those options without relying on a data signal. If the clamp presses a volume or power button, shift it slightly and check again. Clean the camera glass with a clean lens cloth; a fingerprint can turn a distant lamp into a broad smear that is much larger than the light itself.
NASA's smartphone astrophotography primer recommends steady support, a timer, deliberate focus and longer exposures for faint subjects. You do not need to master all four at once. Get the support and timer working in a familiar location before troubleshooting focus in a completely dark campsite.
When and where should you set up for a first star photo?
Choose a legal stopping point with a broad view, then photograph stars after twilight has faded. Look away from the brightest town glow, and check whether moonlight will brighten your chosen part of the sky. A bright Moon can be your subject, but it makes faint stars harder to capture.
Scout the spot in daylight, even if it is just the far edge of a familiar campground. Look for a direction that avoids headlights and lit buildings. A site can seem dark to your eyes while a long exposure still records a bright color cast near the horizon. The same location might have a usable sky in one direction and a washed-out sky in another. Turn the phone rather than assuming you need to drive farther.
Check the land manager's posted hours and photography rules before heading out. A park with excellent daytime access may close its gates before dark. Choose a legal pullout or a campsite where the tripod will not block a path. Keep clear of roads and waterside edges you cannot see. If wind or clouds move in, try a sheltered position or come back on a clearer night instead of chasing a more remote location.
NASA's skywatching FAQ explains how a sky map can help identify what is visible from your location. Pick a recognizable target that will be above your particular horizon at the time you plan to shoot. Save a map or take a screenshot beforehand. Start with a target high enough to clear trees, buildings and the strongest horizon glow. If you can find it without the phone in your hand, setup is much easier.
Which phone camera mode should you try first?
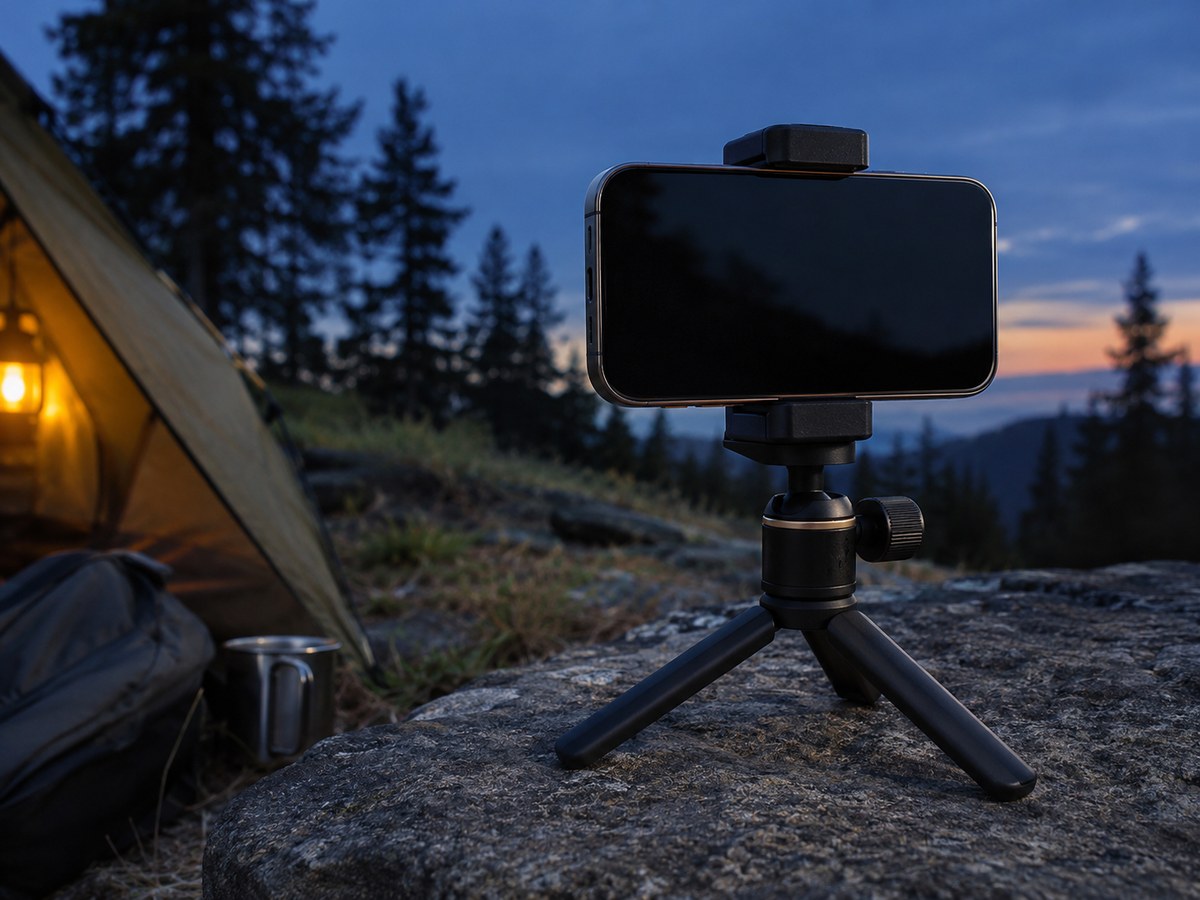
Start with the main camera at 1× and the phone's built-in low-light mode, if available. Use a short shutter delay and keep the support still for the entire capture. Treat the phone's maximum setting as an option, not a goal: a shorter test is often better for diagnosing blur.
Apple's Night mode instructions describe the controls on supported iPhones and recommend a tripod for more detailed results. On a compatible iPhone, let the scene determine whether Night mode appears. Watch the capture timer and wait until it finishes. A brief tap of the shutter does not mean the photo has finished recording, and touching the phone during capture may blur the result.
Google's Pixel Camera guidance distinguishes ordinary Night Sight from astrophotography. On supported models, a steady phone pointed at the sky can switch the shutter to the astronomy mode. Google says Pixel 4a (5G) and later require 1× or higher for that mode. That is a Pixel instruction, not a rule about which lenses work on every phone. If a feature does not appear, check your model's documentation and try a stable, darker setup before buying an app.
Do not use pinch-to-zoom to hunt for faint stars in your first exposure. The larger picture on screen is not necessarily more detail, and a phone can switch lenses as you zoom. Frame the constellation loosely and crop a little from the saved photo if the stars are sharp. Use the same lens for two test shots so you can tell whether the shutter setting, rather than a lens change, made the difference.
How can you focus a phone when the screen looks almost black?
Use a bright star or a distant point of light to help the camera focus, then lock focus if the app lets you. Take a test and enlarge the saved image. The goal is a small, crisp star, not a bright preview; the live screen may be too dark to judge.
A good target for focus is bright enough to find quickly but far enough away to represent the sky. A light on a distant building can work; a lantern right beside the tripod does not. If you turn the camera after focusing, check that the app did not reset the lock. The behavior differs across devices, and switching lenses or shooting modes can clear a focus setting.
If your app provides manual focus, move it while watching the same bright point and use the position that makes the point smallest. Do not assume the infinity marking on every focus slider lands exactly where the stars look sharp. Make one backup exposure a little to either side if you are unsure. Review the center first, then the corners; an isolated smeared corner does not necessarily mean the entire picture is out of focus.
A star with a soft, round halo suggests missed focus, haze, or a dirty lens. A group of stars with matching short strokes suggests movement or a capture that went too long. If the foreground is sharply defined while the stars look like tiny strokes in the same direction, try a shorter capture. If both foreground and sky are doubled, brace the tripod better and let the timer take your hand off the setup.
What should you change when the first test looks wrong?
Change one thing, then take another exposure of the same scene. Blurry stars call for a steadier mount, a focus check, or a shorter exposure. A washed-out sky calls for a different direction or a shorter capture. If the stars are sharp but barely visible, try a modestly longer capture.
| What the saved image shows | What to change first |
|---|---|
| The foreground and stars have matching double edges | Press the legs into stable ground and use the timer |
| Small stars are round but nearly invisible | Try a slightly longer capture without moving the tripod |
| A large pale patch sits above a town | Turn the camera away from it before increasing exposure |
| A dark tree is only a shapeless mass | Move the camera so branches separate against the open sky |
| A pale veil appears on several shots | Look for cloud, stray light, or moisture on the lens |
If the phone has manual exposure, start with a few seconds and evaluate the saved result. A longer capture can collect more light but may show the apparent movement of stars across the frame. Phone night modes may instead combine several frames; the time shown on the phone is not a universal single shutter setting. An exposure that works on a mount at a dark site may be a poor choice at a campsite with headlights crossing the frame.
If the phone produces a usable first image, change the composition before making more copies. Move the horizon a little lower to give a constellation room, or tilt down slightly to show a distinctive ridge. Make one shot with a clear foreground silhouette and one without. At home, it is easier to choose between two intentionally different pictures than between ten near-identical versions.
Once you have a sharp test, note the camera mode and whether the tripod was on rock, sand, or a raised platform. Those details explain more than a screenshot of the exposure slider. A stable mount on solid ground may be the main reason one photo worked, while the next shot shook when someone walked across a wooden platform. If you are comparing two modes, keep the target in the same part of the frame. Compare a bright star and the edge of one foreground object in both photographs. Delete only the obvious mistakes in the field; the dark preview can hide detail you would notice on a bigger screen.
Give yourself a stopping point. For a first session, take one wide view, one version with a clear foreground, and one backup of whichever is better. If clouds swallow the target, photograph the brighter Moon another night or try the same setup on a distant light before you return to stars. You are practicing a repeatable process, not trying to collect every kind of night-sky image on one outing.
How can you edit a night photo without making the sky look fake?
Make small changes to exposure, highlights and color, and keep the original file. A dark sky can stay dark. Brighten only enough to show the stars you captured, and avoid strong sharpening or heavy noise reduction. Review the result at full size as well as at normal viewing size.
If a streetlight makes one corner orange, lowering saturation across the entire picture may also erase a believable blue night sky. Try trimming the frame slightly or lowering highlights first. Look for new bright outlines around trees after sharpening, and compare against the original to see whether tiny stars disappeared during noise reduction. If a smoothing slider removes the little dots you were trying to show, back it off.
Do not present a generated foreground, added stars or a sky replacement as a factual record of the scene. Ordinary adjustments can help a visitor understand the photograph; replacing the sky changes what the photograph documents. If an image is a teaching illustration or a composite, label it so people do not mistake its sky, location or equipment for the real capture.
Try a final check before you pack up: find the same three stars in your saved image and in the sky. Confirm that a branch or ridge has a clean edge and that the image does not have a bright strip from a headlight. Make one backup with the best setup before dismantling it. If moisture is the issue rather than exposure, see our camera condensation guide instead of spending the rest of the night changing settings.
The most useful record is two lines in a note: what you aimed at and what changed between the good and bad frames. On the next trip, you can start with that combination and focus on a better location or composition instead of learning the controls again.
Frequently asked questions
What do you need to photograph stars with a phone?
You need a phone camera, a way to hold it still, and enough darkness to see your target. A compact tripod and secure phone clamp are convenient, but a wide, stable surface can work if the phone cannot slip. Start with the built-in camera app before adding gear or software.
When and where should you set up for a first star photo?
Choose a legal stopping point with a broad view, then photograph stars after twilight has faded. Look away from the brightest town glow, and check whether moonlight will brighten your chosen part of the sky. A bright Moon can be your subject, but it makes faint stars harder to capture.
Which phone camera mode should you try first?
Start with the main camera at 1× and the phone's built-in low-light mode, if available. Use a short shutter delay and keep the support still for the entire capture. Treat the phone's maximum setting as an option, not a goal: a shorter test is often better for diagnosing blur.
How can you focus a phone when the screen looks almost black?
Use a bright star or a distant point of light to help the camera focus, then lock focus if the app lets you. Take a test and enlarge the saved image. The goal is a small, crisp star, not a bright preview; the live screen may be too dark to judge.
What should you change when the first test looks wrong?
Change one thing, then take another exposure of the same scene. Blurry stars call for a steadier mount, a focus check, or a shorter exposure. A washed-out sky calls for a different direction or a shorter capture. If the stars are sharp but barely visible, try a modestly longer capture.
How can you edit a night photo without making the sky look fake?
Make small changes to exposure, highlights and color, and keep the original file. A dark sky can stay dark. Brighten only enough to show the stars you captured, and avoid strong sharpening or heavy noise reduction. Review the result at full size as well as at normal viewing size.