
How to Choose Sleeping Pad R-Value for Cold Camping
Written by Outdoors Magazine|
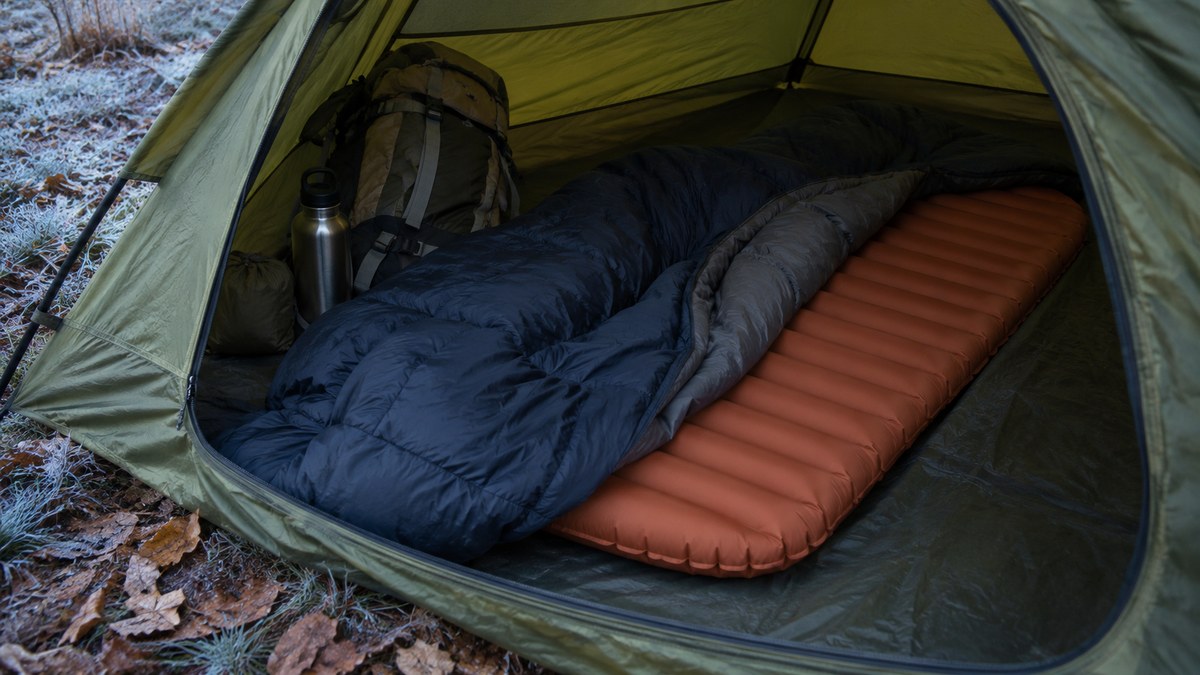
For cold camping, choose a sleeping pad with an ASTM-tested R-value for the coldest ground and conditions you reasonably expect, not just the forecast air temperature. Treat the pad, bag and shelter as one system, and carry backup insulation or choose a trip with an easy exit if the setup is unproven.
Key takeaways
- Compare exact models tested to ASTM F3340 rather than judging pad warmth by thickness.
- Add stacked R-values only across the area where both pads stay under you.
- Check your whole sleep setup and practice near an easy exit before relying on it in colder conditions.
For cold camping, choose a sleeping pad with an ASTM-tested R-value for the coldest ground and conditions you reasonably expect, not just the forecast air temperature. Treat the pad, bag and shelter as one system, and carry backup insulation or choose a trip with an easy exit if the setup is unproven.
Hero: Generated editorial photograph for illustration.
What does sleeping pad R-value actually measure?
R-value measures how strongly a sleeping pad resists heat moving through it. A higher tested number means more insulation under the same laboratory conditions. It does not say how soft the pad feels, whether your whole body fits on it, or the lowest air temperature at which you will sleep comfortably.
In ASTM F3340-22, a pad is compressed between a heated plate and a cold plate and measured in a steady state. The method is built to compare resistance through the thickness of the pad. A sleeping bag or separate cover is not included. ASTM explicitly notes that changes in posture, uncovered surfaces and losses at the edges may alter results outside the lab.
When comparing two products, look for the test method and the rating for the exact model and size you expect to carry. A manufacturer may sell an insulated and uninsulated pad that use the same family name. Do not assume that the photo, thickness, color or “all-season” wording tells you which version is in your cart or gear closet. If a listing gives only an air temperature or a number with no stated test, ask the manufacturer for the specification instead of treating the two numbers as interchangeable.
Keep three details together on your packing list: the model, the published R-value and its actual width and length. The rating helps compare the materials and construction. The dimensions help you judge whether the insulation reaches your usual contact points when you roll over, stretch out or curl up. For a broader look at construction choices, see our guide to sleeping pad types.
How much insulation should you consider when frost is possible?
Start with the surface, expected moisture and how difficult it would be to leave if conditions change. Sea to Summit uses R-3 to R-4 or higher as rough guidance for light frost and R-4 to R-5 or higher for heavy frost. These ranges are manufacturer guidance, not tested air-temperature limits or promises of comfort.
For a sheltered drive-in trip where light frost is possible, you can keep a spare layer nearby and leave without walking miles. That gives you a way to learn how your pad and bag work together. A similar weather forecast at a higher campsite with an exposed pitch and a long walk out is a different decision. Start with more margin or pick a less committing location, especially if you do not know how cold you tend to sleep. A frost guideline is not a ceiling for trips onto snow or frozen ground.
Air temperature is a useful input, but your body loses heat to the surface you actually lie over. Do not plan an overnight around the low predicted at a lower town, the afternoon reading at the trailhead or a season label. Look at the forecast for the campsite's location, including wind and precipitation, and think about what the ground will be like at night. A damp site, exposed platform or expected overnight shift leaves less room to rely on a setup that just worked at home.
Write down the expected surface and the fallback plan together: “dry forest tent pad; foam spare in car,” or “hard frozen ground; full-length backup rides in pack; turn back if there's no durable sheltered campsite.” This makes it clear what problem the extra insulation is meant to solve. For trips harder to bail out of, do not treat one pleasant night on a gentler surface as validation for harsher conditions.
Do sleeping pad R-values add when you stack pads?
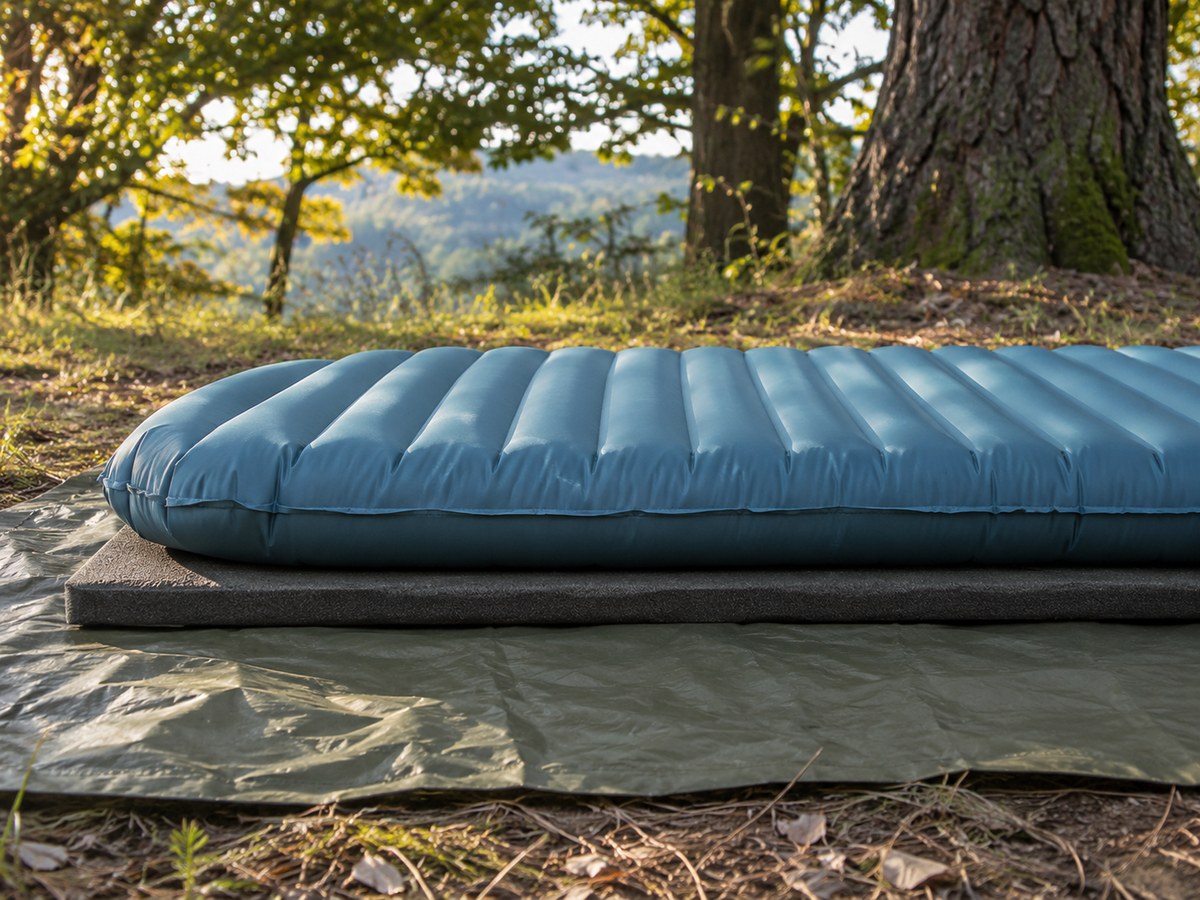
They add approximately where both pads are under you and stay in position. Sea to Summit illustrates the idea with an R-3 air pad and an R-2 pad that together make an R-5 surface. The example concerns the shared area; it does not turn a torso-length second mat into full-length extra insulation.
Lay both pads out and check which sections overlap before calling the setup R-5. If the short pad ends near your knees, the upper body gets the benefit of two layers, but feet and lower legs still depend on the longer pad. If the stack slides in the night, the geometry changes again. Test it on the same tent floor and groundsheet you intend to use, with your bag on top. Sit, lie down and roll onto your side to see whether the layers stay where they belong.
Putting durable foam under an inflatable pad can add separation between the air pad and grit on the floor. It can also leave you with a usable layer if the inflatable goes flat. There is no need to present that order as universally warmer: pick the arrangement that fits, remains stable, does not interfere with valves and keeps you insulated at the shoulders, hips and heels. Never assume a thin protective groundsheet has a published insulating value or can substitute for the foam.
Also check the dimensions of the shelter with all occupants accounted for. Two wide pad stacks can crowd a narrow tent, push sleeping bags into damp walls or make one person sleep on the raised edge of a pad. Try the full arrangement somewhere dry. If you can only fit the nominally warm system by folding the foam, leaving legs unsupported or stacking the edges unevenly, change the arrangement before the trip.
Should you add a pad, bring a warmer bag or change campsites?
Match the change to the likely weak point. A cold patch at the hip or heel, slipping off the mat or a pad that keeps going soft points you toward the layers underneath. A draft at the neck or shoulders instead sends you to the bag, clothing and shelter. These are clues, not diagnoses.
Sleeping bag temperature ratings and pad R-values answer different questions. ISO 23537-1 specifies test and labeling requirements for the adult sleeping bags within its scope. It is not the pad test and is not a guarantee for a given camper. Look at which rating a bag brand actually prints and what it means, rather than planning around the coldest number on the tag. There is no sound shortcut that turns a bag's temperature number or a pad's R-value into an assured temperature for the pair.
Think of a winter campsite as a place you must be able to keep a whole set of gear working. Choose an established or otherwise permitted durable site with appropriate shelter and a realistic retreat. Keep sleeping layers dry, avoid lying with part of the bag pressed into a wet wall, and plan for typical overnight temperature shifts. A warmer bag alone cannot stop heat loss where your hip rests against an underinflated mat. More pad insulation alone does not fix a wet bag or an exposed shelter with drafts.
For a near-home shakedown, adjust a single item at a time so you can make sense of the change. If you slept comfortably with an added foam layer and otherwise kept the same setup, you learned more than you did by swapping the shelter, bag and pad together. Keep the spare layer within reach and make the point of the outing to learn, not to endure a colder night than you planned. Our outdoor layering guide is a useful companion for the separate clothing decisions.
How do foam, insulated air and self-inflating pads differ in the cold?
Closed-cell foam does not need air pressure to stay usable, but it often takes more packing space for the cushioning you want. Insulated air pads can pack neatly and run thick, but can lose support with a leak. Self-inflating pads combine foam and air. Compare tested values and actual dimensions, not these labels alone.
A closed-cell mat makes sense as an independent backup if you can secure it without losing it on brush or letting it interfere with your pack. On a car trip the bulk penalty is small; in a tight backpack, pack fit matters. Confirm that the backup itself gives enough coverage for the purpose it serves. A sit pad is handy at camp but does not become a replacement mattress. Size, carry method and where the mat ends up in the tent can matter more than a small change in the published decimal.
With an air pad, check the maker's inflation and patch instructions before leaving. A pad may soften as the air in it cools, so one small change after sundown is not necessarily a leak. If the mat repeatedly loses support after it has cooled and been topped up as directed, inspect the valve and fabric instead of depending on a midnight reinflation cycle. Cascade Designs explains the difference in its pad troubleshooting guidance. Make sure any patch kit matches the pad material, and follow its directions for use and cure time rather than assuming every patch holds immediately in the cold.
Try any self-inflating pad before relying on it. Check how securely the valve closes, how much room the rolled pad takes in the pack and how stable it feels at the intended inflation. You want an arrangement you can put together when tired and disassemble without getting the dry layers dirty or wet. A thick pad that feels generous in a shop can still be awkward if it consumes the whole tent's usable width.
How can you test your sleep setup before a colder trip?
Choose a legal, low-consequence campsite with conditions mild enough to retreat safely, bring dry backup layers, and practice with the exact setup you intend to carry. Check the pad for continued pressure loss, the stack for sliding and your body for exposed contact points. Keep notes, but do not treat one night as certification.
Start with a simple dry setup check: confirm valves work, find all the necessary inflation pieces, lay the pad fully out and locate the repair kit. Inspect the tent floor and surface before placing the pad. See which shoulder, hip or heel meets the ground when you lie in your usual position. Then check whether your face, shoulder or feet are likely to push the bag against the tent once both occupants and gear are in their normal places.
On the shakedown, note the location, surface, forecast, gear and obvious failure point, not just “warm” or “cold.” A record such as “air held, mattress slid, left shoulder hit floor” points to a fit problem. “Pad held but damp fabric pressed against both feet” points you toward adjusting shelter space or managing moisture. If the report is simply “felt cold all through,” increase your overall margin or choose a milder outing instead of trying to solve the entire problem by moving one layer.
For winter trips, Mount Rainier National Park's winter guidance calls for a full-length insulated pad and emphasizes checking conditions before travel. Follow local alerts and your turnaround plan. If you cannot remain warm and dry, move to safety rather than counting on a gear label. Keep the night's least forgiving part in mind: an unfamiliar floor, a leaking air pad or a colder campsite than expected changes the decision more than a precise-looking number on a chart.
Frequently asked questions
What does sleeping pad R-value actually measure?
R-value measures how strongly a sleeping pad resists heat moving through it. A higher tested number means more insulation under the same laboratory conditions. It does not say how soft the pad feels, whether your whole body fits on it, or the lowest air temperature at which you will sleep comfortably.
How much insulation should you consider when frost is possible?
Start with the surface, expected moisture and how difficult it would be to leave if conditions change. Sea to Summit uses R-3 to R-4 or higher as rough guidance for light frost and R-4 to R-5 or higher for heavy frost. These ranges are manufacturer guidance, not tested air-temperature limits or promises of comfort.
Should you add a pad, bring a warmer bag or change campsites?
Match the change to the likely weak point. A cold patch at the hip or heel, slipping off the mat or a pad that keeps going soft points you toward the layers underneath. A draft at the neck or shoulders instead sends you to the bag, clothing and shelter. These are clues, not diagnoses.
How do foam, insulated air and self-inflating pads differ in the cold?
Closed-cell foam does not need air pressure to stay usable, but it often takes more packing space for the cushioning you want. Insulated air pads can pack neatly and run thick, but can lose support with a leak. Self-inflating pads combine foam and air. Compare tested values and actual dimensions, not these labels alone.